Working With Arduino

I first began using Arduino micro-controller when I worked as part of the team that did the interactive for a gallery last year. At the team, I was in charge of the electronic design and software integration.
Following are two overviews of the interactive.
Interactive : History of Education
This interactive was designed to give visitors a sense of being inside a cockpit of a time-capsule. The capsule moves through time passing different eras. As the time moves, visitors see vintage images and videos of past educational institution and the people who helped shaped the development of those institutions through an immersive display that is made up of 4 projectors.
In this project, Arduino is used to handle two-way communication between WatchOut system and physical button, sensor and relay. These buttons and sensor provide feedback to WatchOut to trigger different timelines. In turn WatchOut sends feedback to Arduino to switch on external relay-based equipment.
Interactive : Education Policy
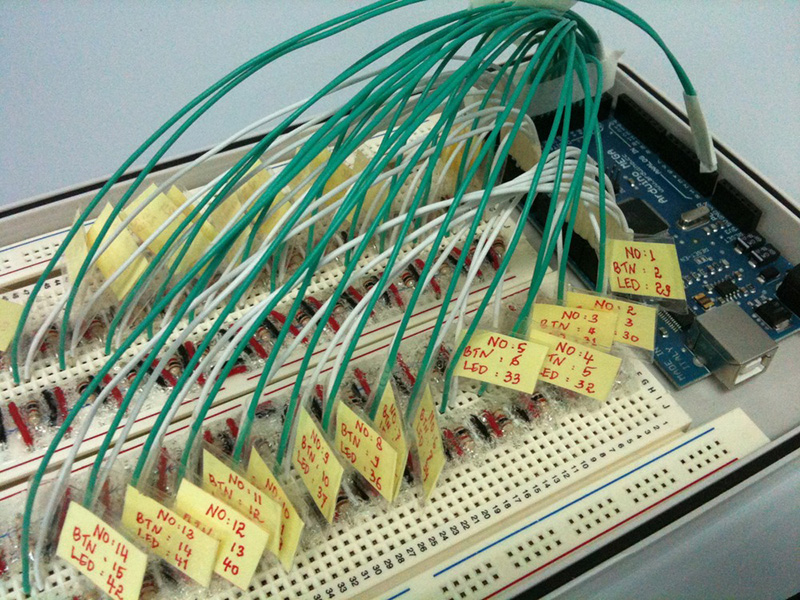
This exhibit is designed like a train station map where each point on the map indicate a key year in the history of education development. The map, the size of a whiteboard is covered in thick glass hung on the wall. There are total of 27 physical buttons fastened to each point on the map. Each button when pressed would show a scrolling message on the matrix LED above the map.
One challenge in this project is that it requires 27 LED buttons. It means that we have to use an Arduino that has at least 54 IO pins. Half of the pins are for button press feedback and another half for lighting up LEDs. For the wiring, I decided to use breadboard as is, instead of stripboard because soldering up 54 cables and through-hole resistors can be difficult and prone to error. To aid debugging in case the need arises, I put label on each pair of them.


